From the archive
Let's draw a garden gate
Treat this as one small practice round: build the subject lightly, notice the shapes, then darken only the lines that help the finished sketch.
-
01
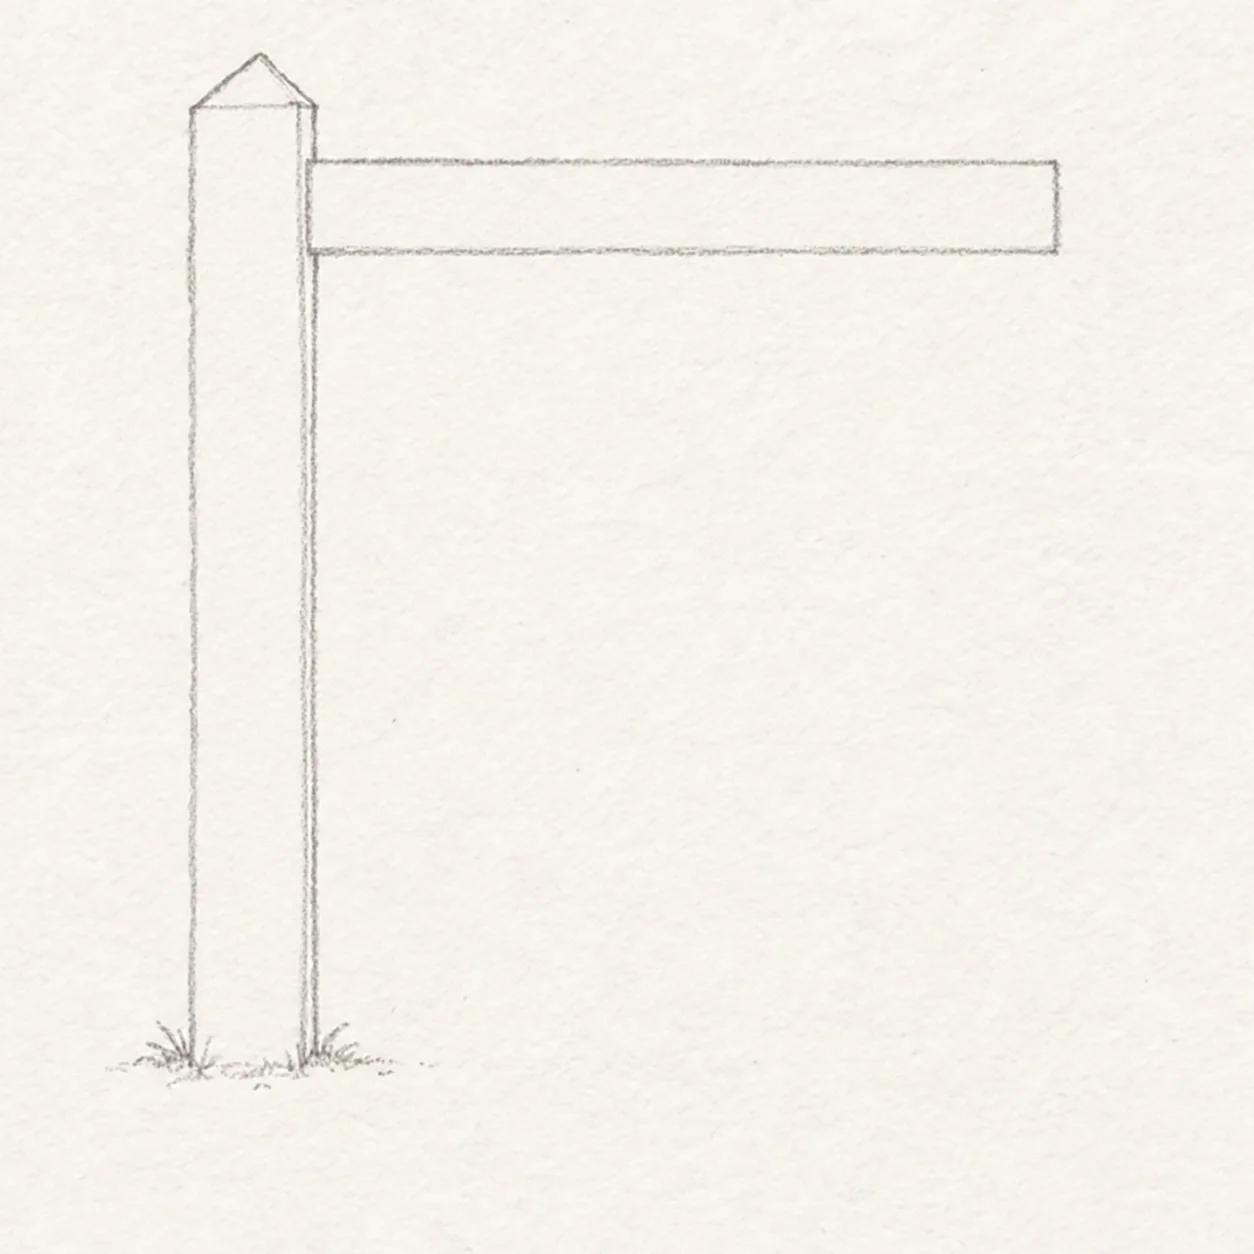
Sketch the gate corner
With light HB pressure, draw the tall left post and its pointed cap. From the upper third, pull two level lines to the right for the top rail, leaving its far end open. Add a tiny grass tuft at the post base; leave the wood interiors blank.
Sketch tip: Ghost the top rail twice before drawing it; a level line gives every later board a reliable anchor.
-
02
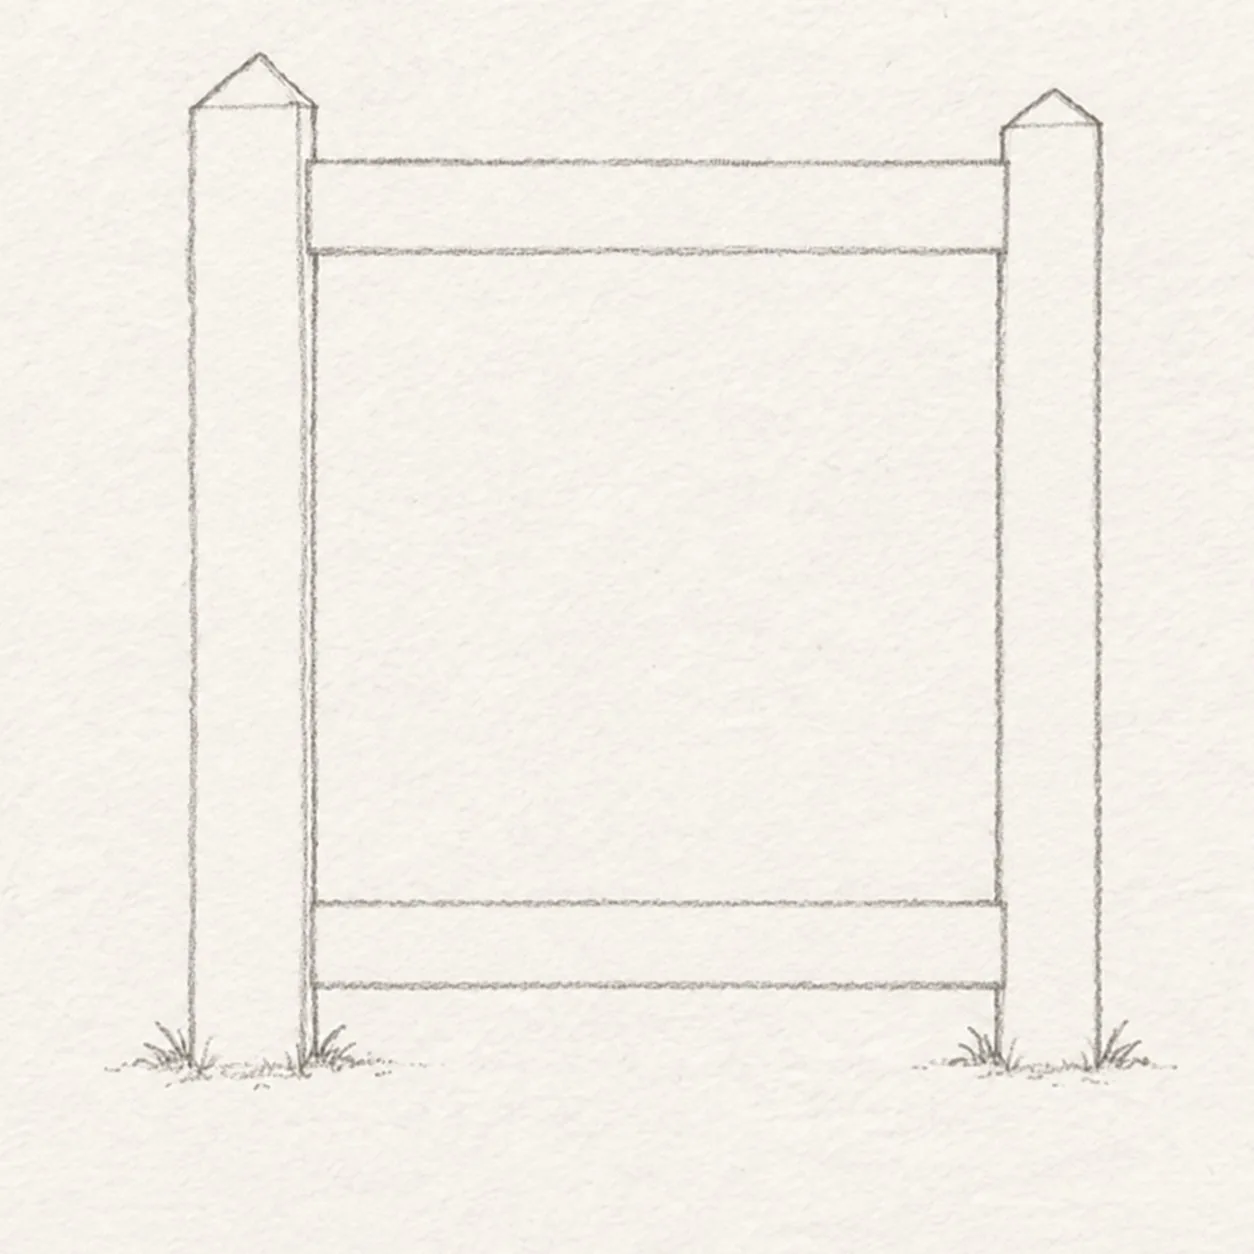
Close the light frame
At the open top-rail end, lightly outline a matching right post and pointed cap. Link the posts with two low level lines for the bottom rail, then add a tiny right-base grass tuft. Keep the wood blank for now.
Sketch tip: Compare the post heights and the open rectangle before drawing the slats.
-
03
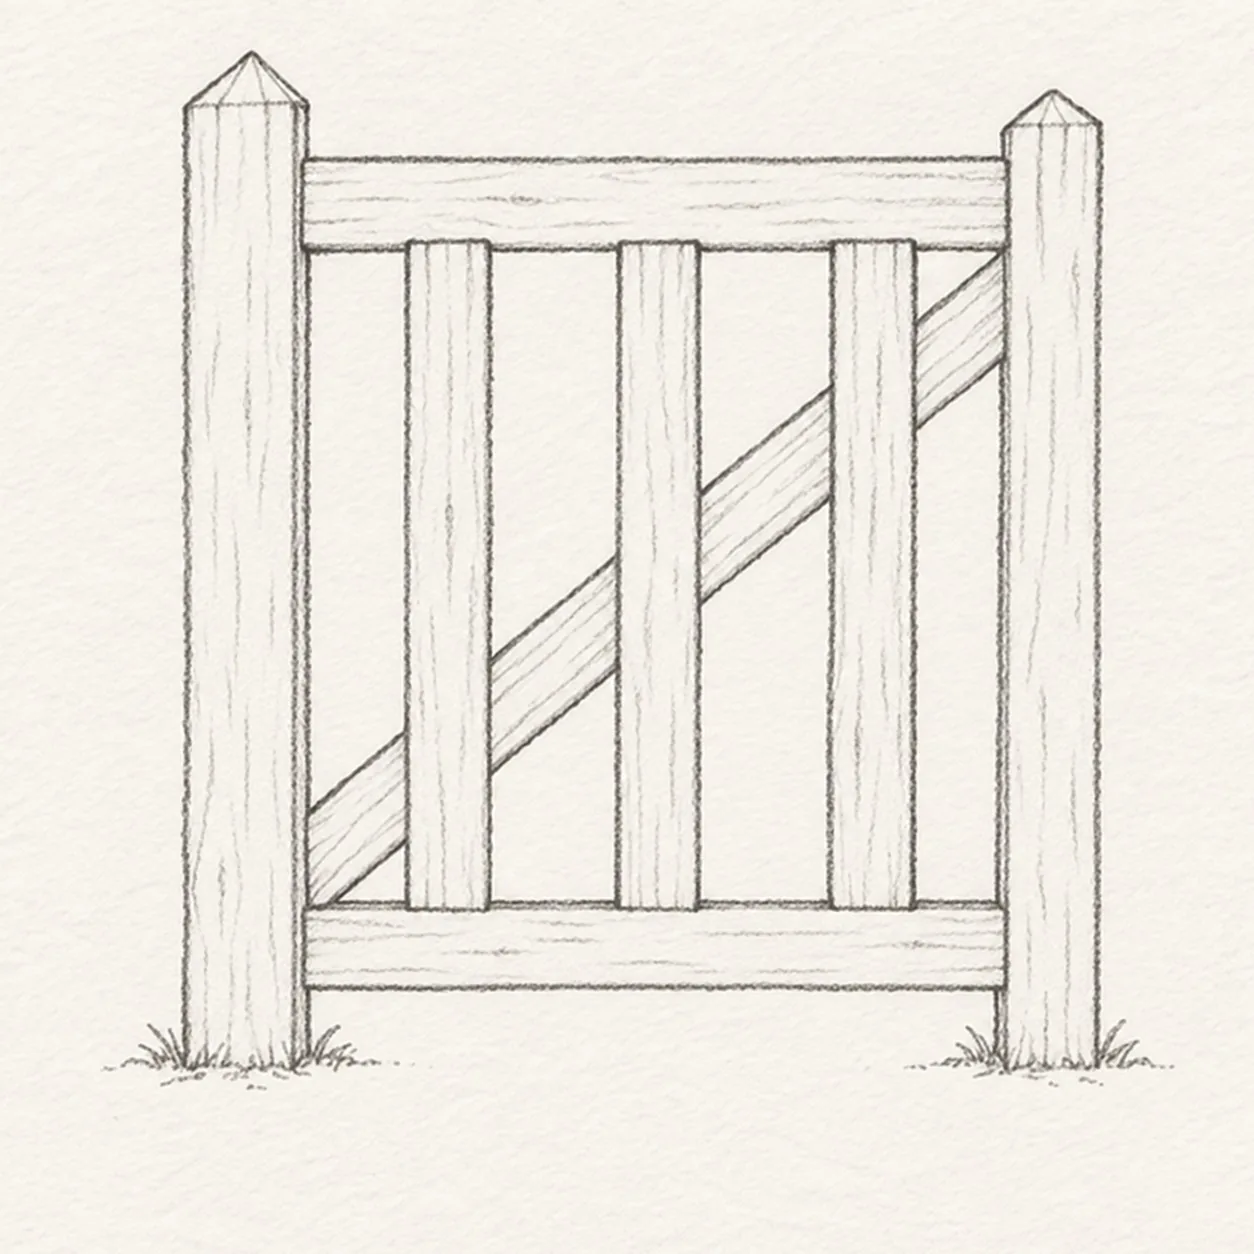
Build the boards and brace
Between the rails, draw exactly three evenly spaced upright slats. Draw one rising diagonal brace from lower left to upper right, stopping its edges whenever a slat covers it. Add only a few faint grain strokes along the new boards.
Sketch tip: Count three slats and keep the brace visible only in the gaps behind them.
-
04
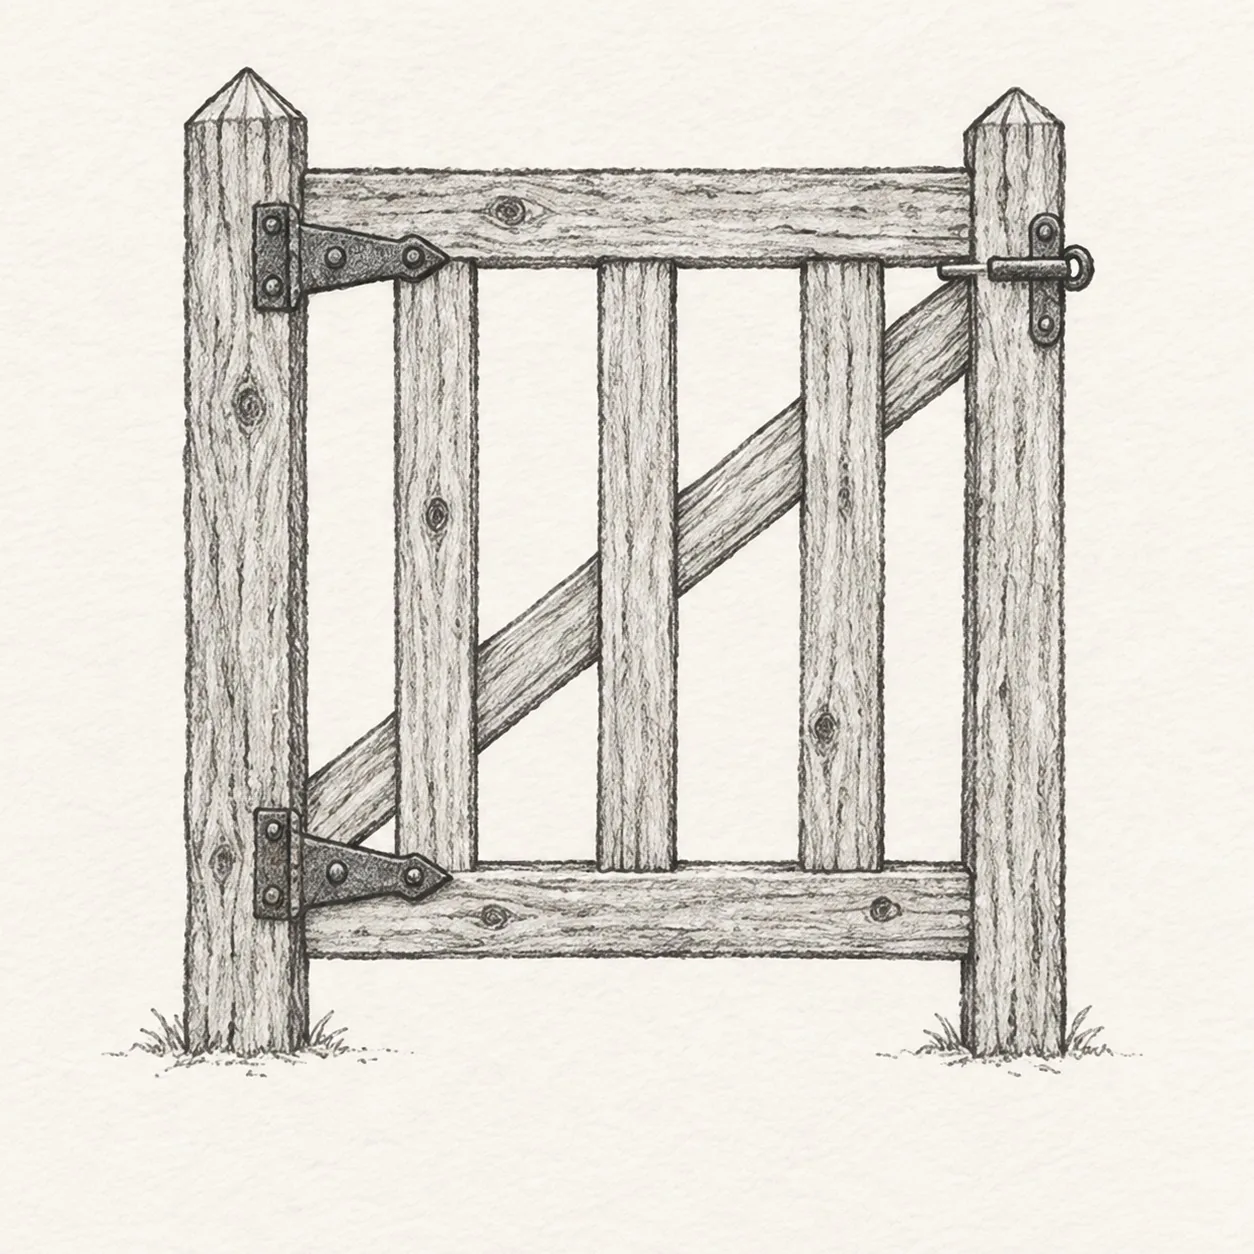
Add hardware and wood grain
At the left post, draw one iron hinge beside each rail. Add one short latch across the upper-right join. Follow the length of the established posts, rails, slats, and brace with uneven graphite grain and a few knots; keep every contour and overlap fixed.
Sketch tip: Align the two hinge plates with the rails, then pull short grain strokes along each existing board rather than across its edges.
-
05
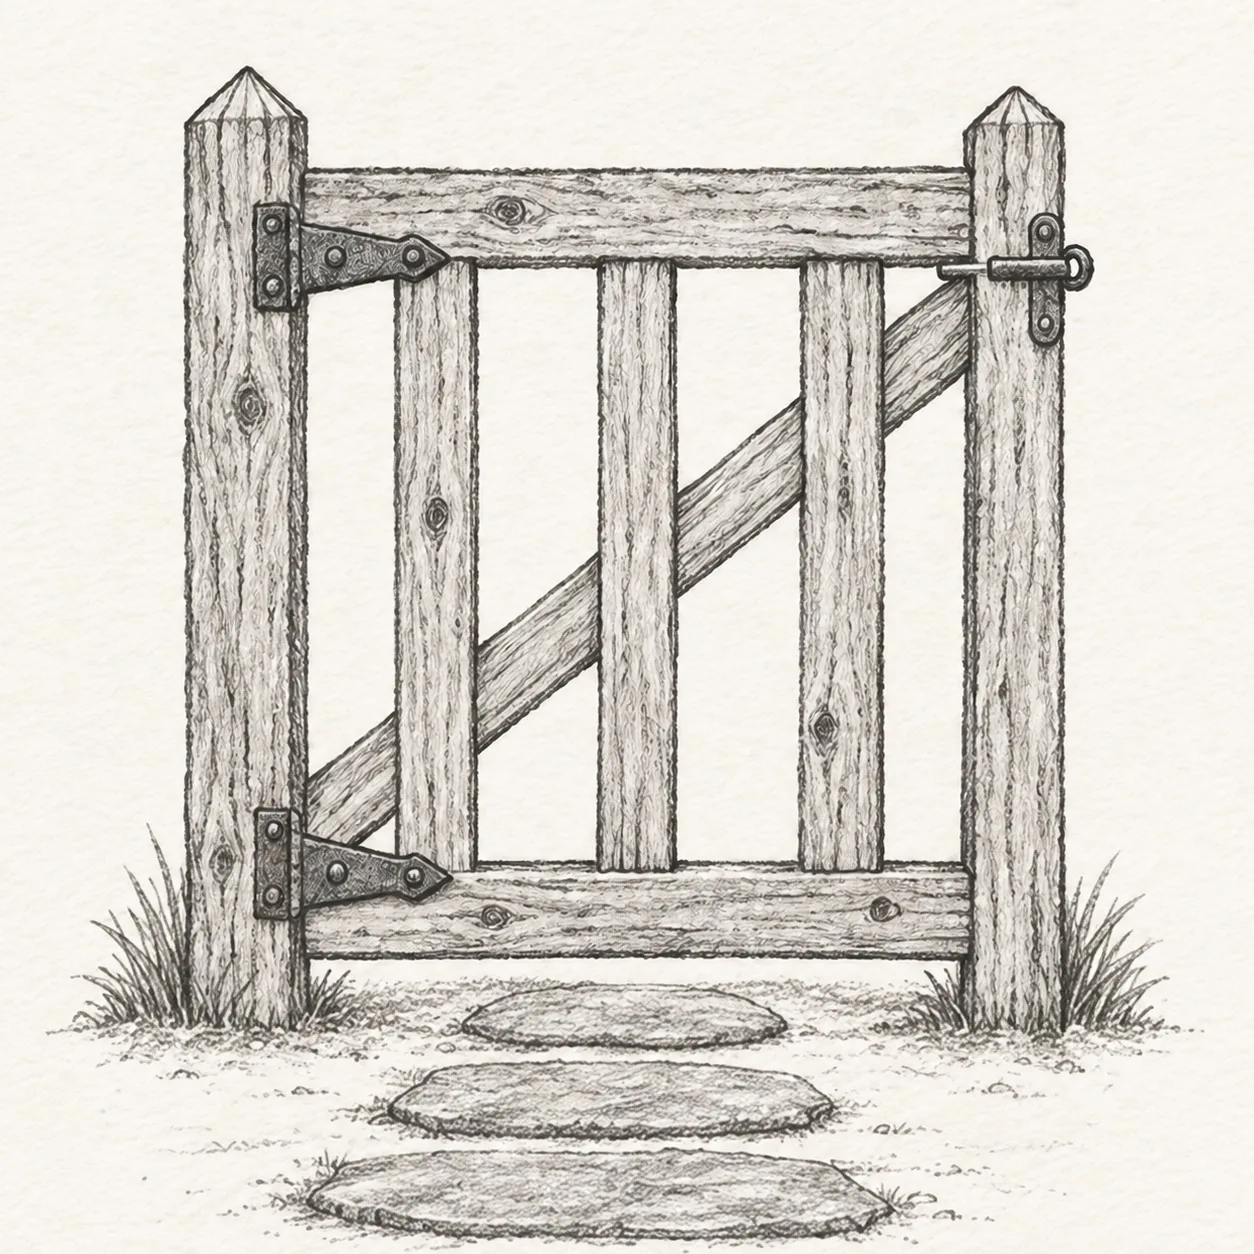
Ground the gate
Draw three flattened stones below the bottom rail. Enlarge the small grass tuft at each outer post base, then add a short broken shadow beneath the gate.
Sketch tip: Keep the stones flatter than the rails; grow the grass from its existing base marks.
-
06
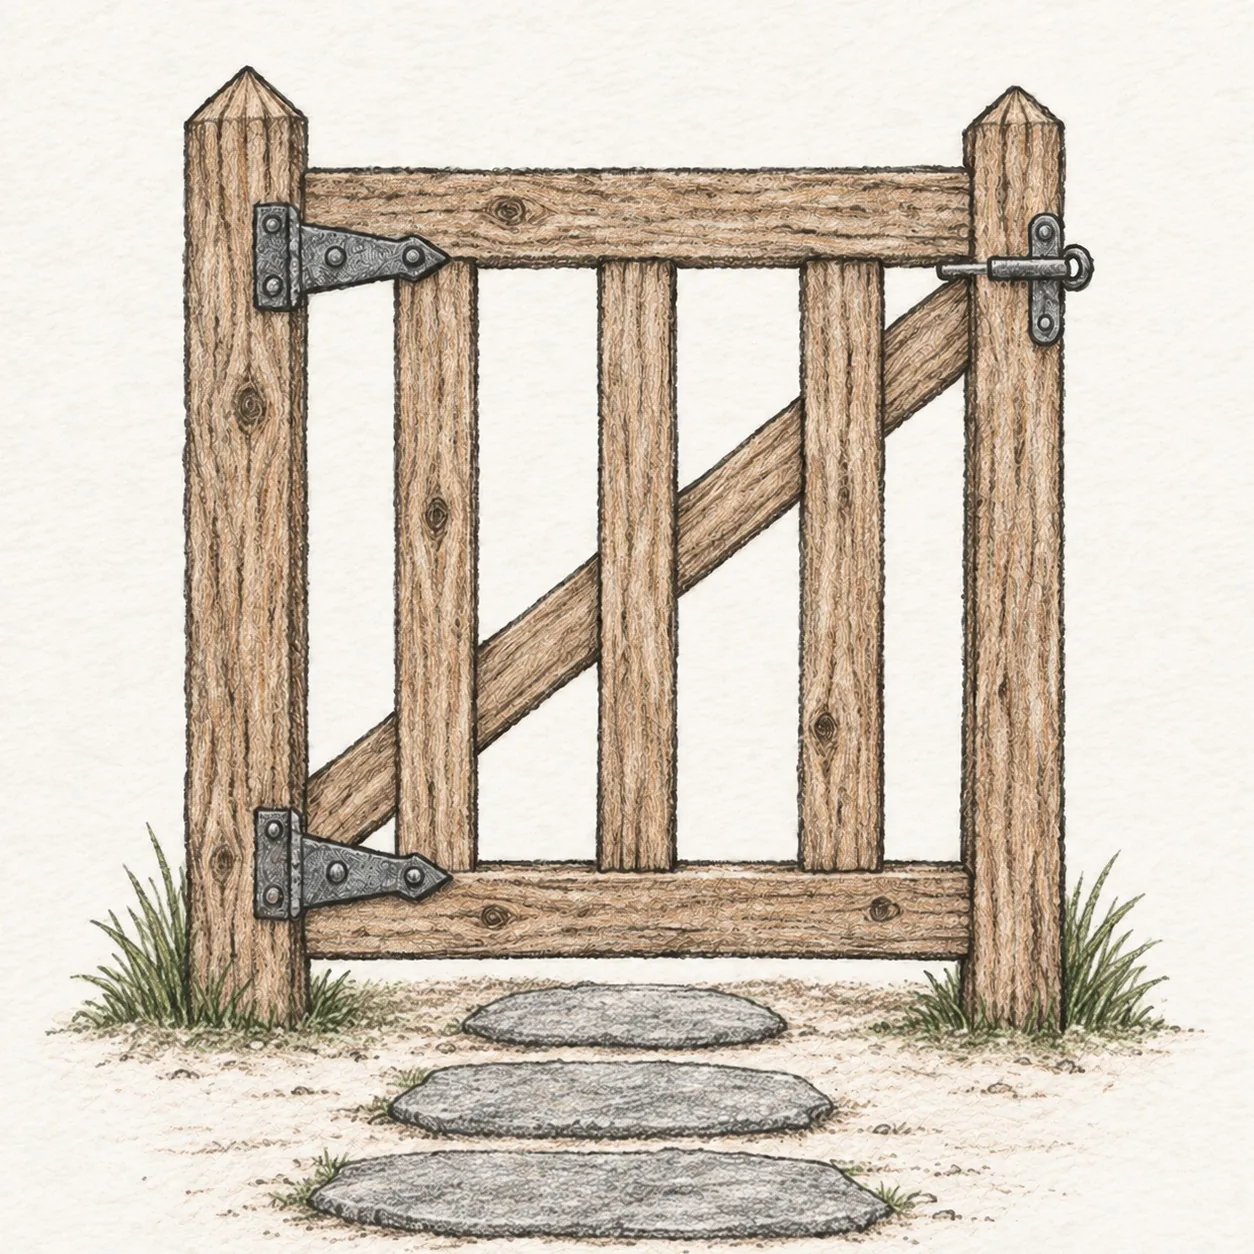
Shade the weathered wood
Strengthen selected graphite edges; shade the established rails, posts, and slats with pale warm brown, the hinges and latch cool gray, and the stones and grass lightly. Leave paper gaps for weathered wood.
Sketch tip: Follow each board with the colored pencil and stop while graphite grain and white paper remain visible.