Pencil ready?
Let's draw a mortar and pestle
Treat this as one small practice round: build the subject lightly, notice the shapes, then darken only the lines that help the finished sketch.
-
01
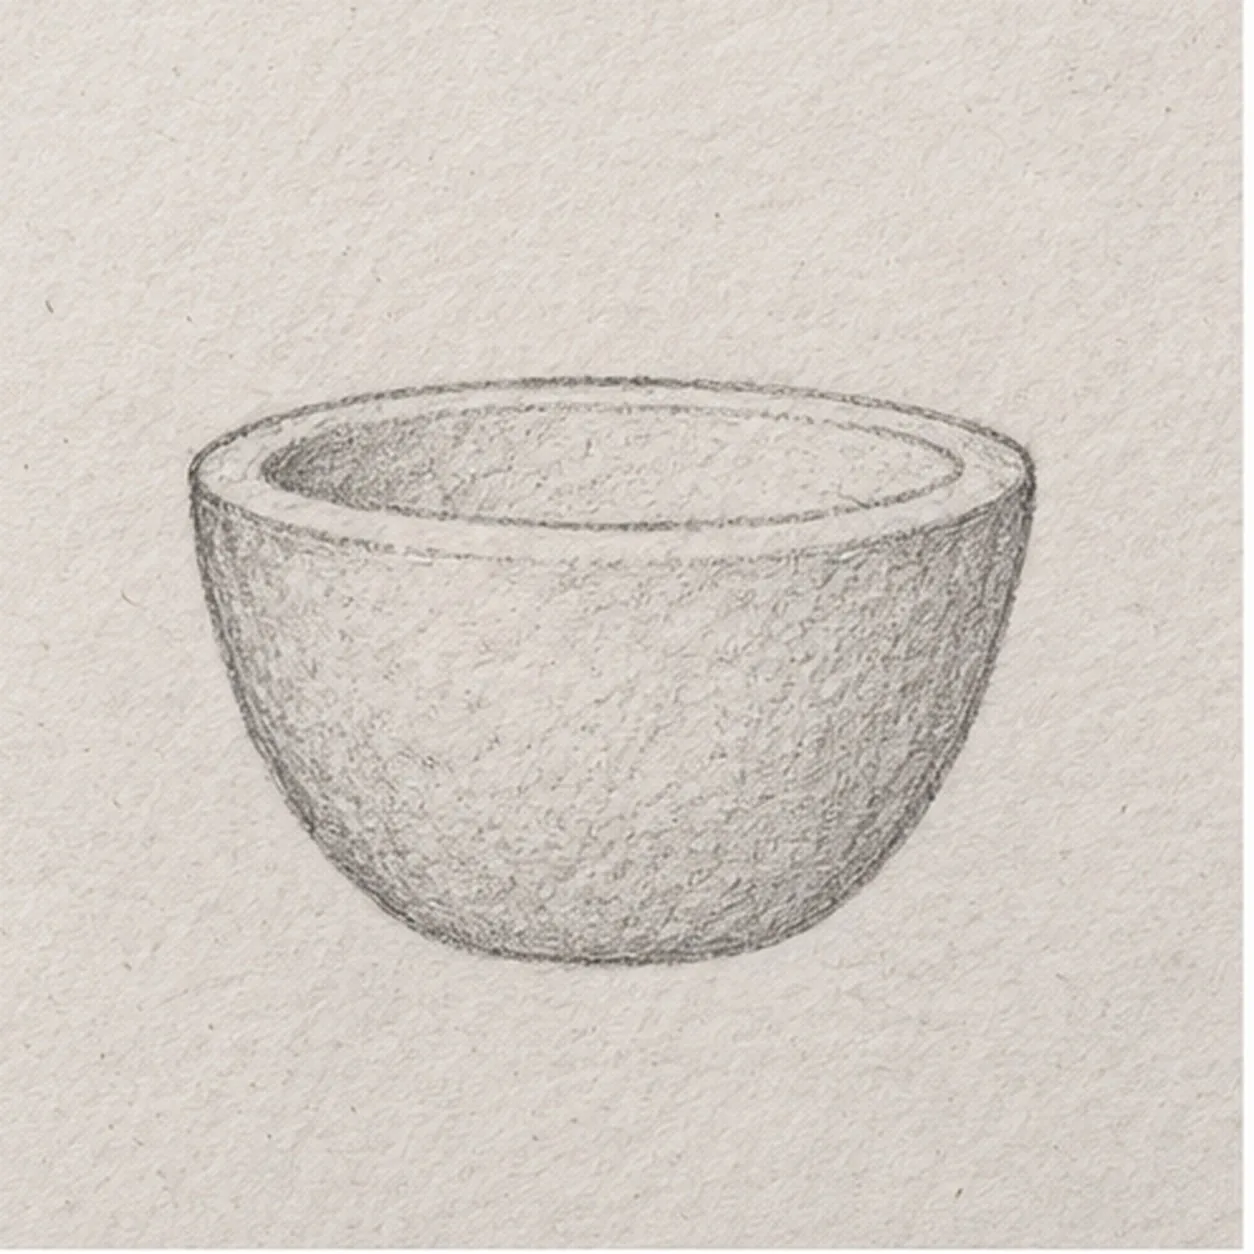
Shape the mortar
Draw a broad shallow rim ellipse at center. From its left and right edges, curve two sides inward and join them with a rounded bowl bottom.
Sketch tip: Keep the two rim ends level and taper both sides gently toward the same bottom.
-
02
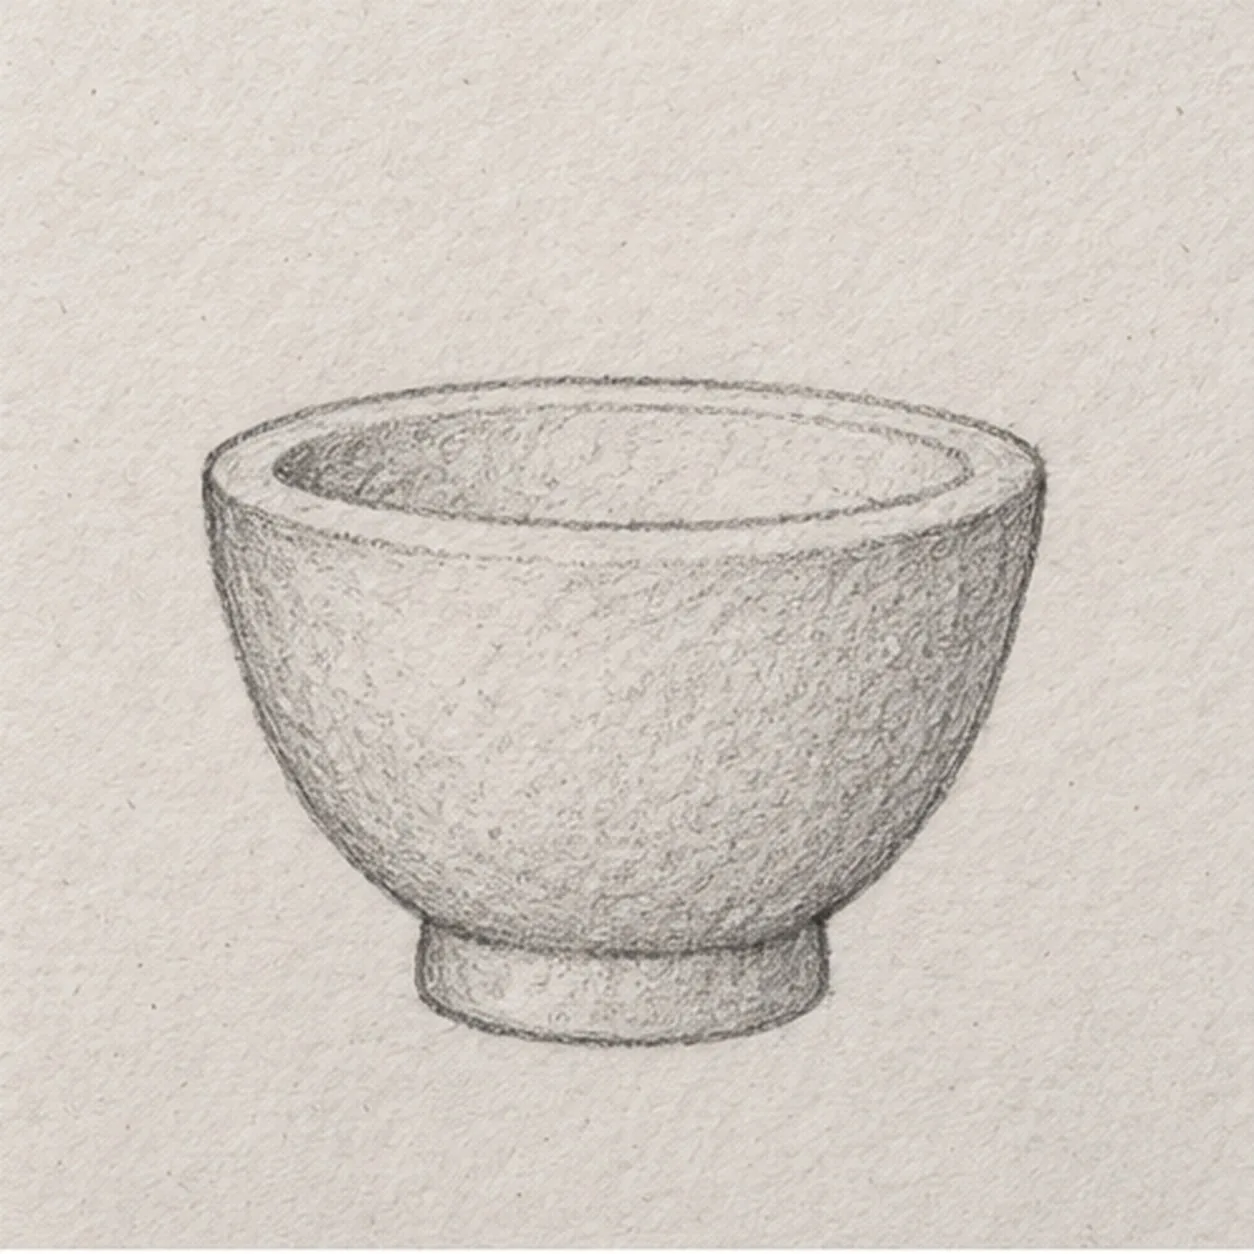
Set the stone foot
Center a low oval foot under the rounded bottom, letting its top edge disappear behind the bowl. Keep the wide rim and both sides unchanged.
Sketch tip: The foot sits on the bowl centerline; hide its upper edge behind the stone body.
-
03
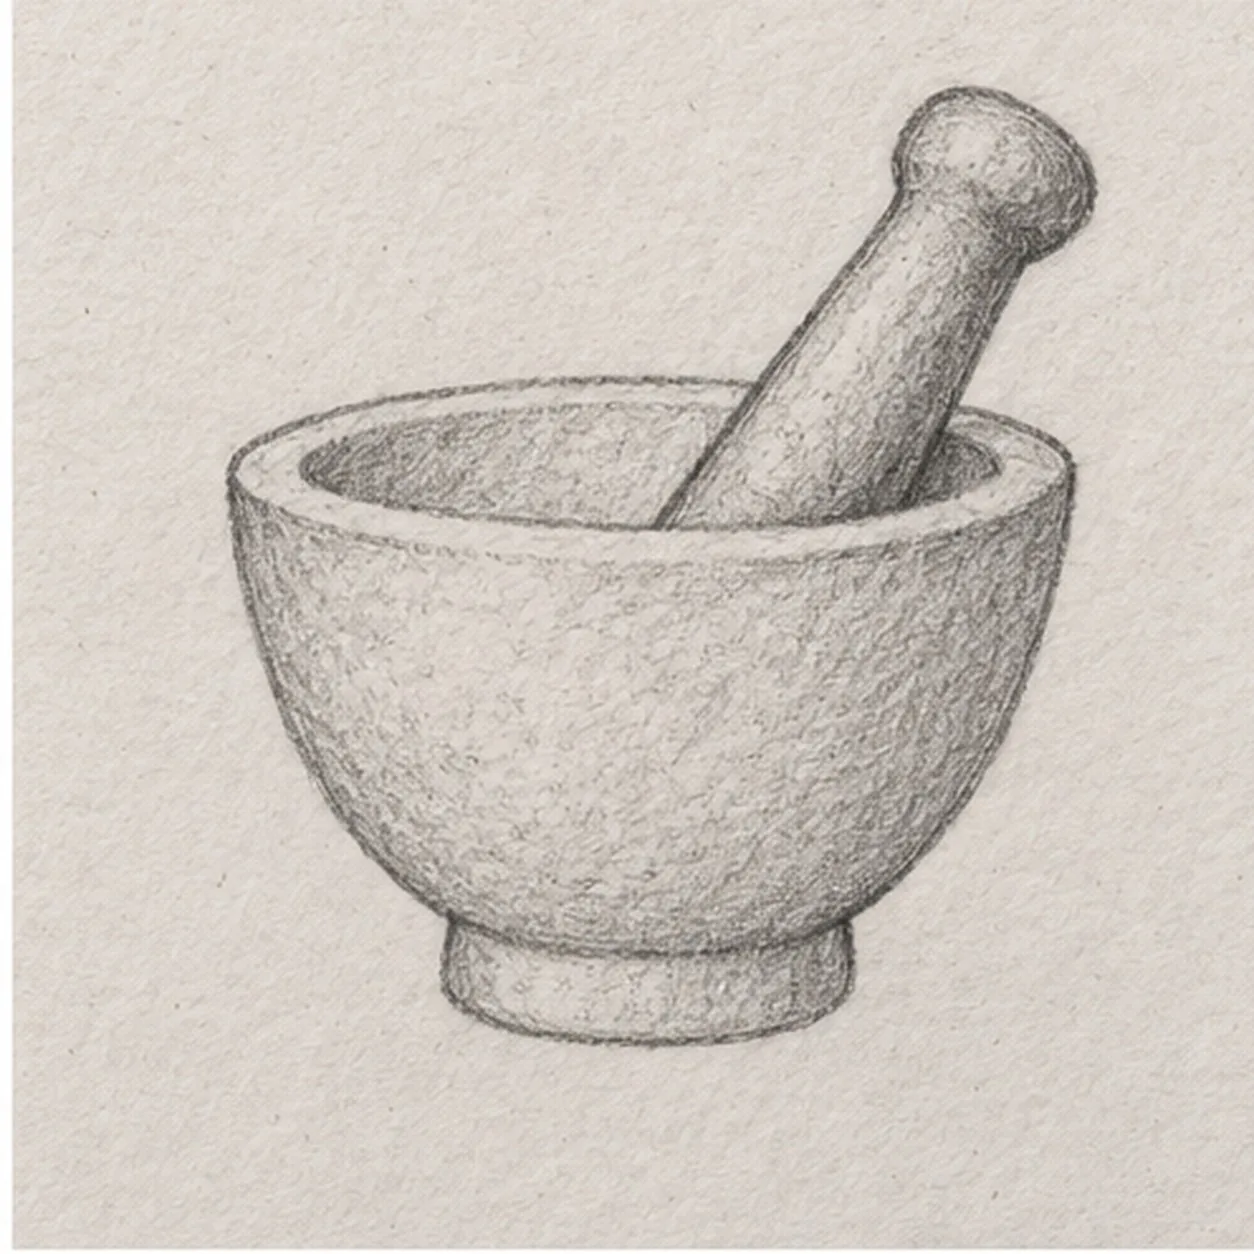
Lean in the pestle
From inside the bowl opening, draw two parallel slanting edges rising to the upper right and cap them with a rounded handle end. Stop the lower tip behind the near rim.
Sketch tip: Ghost the diagonal first, then stop the lower end where the near rim covers it.
-
04
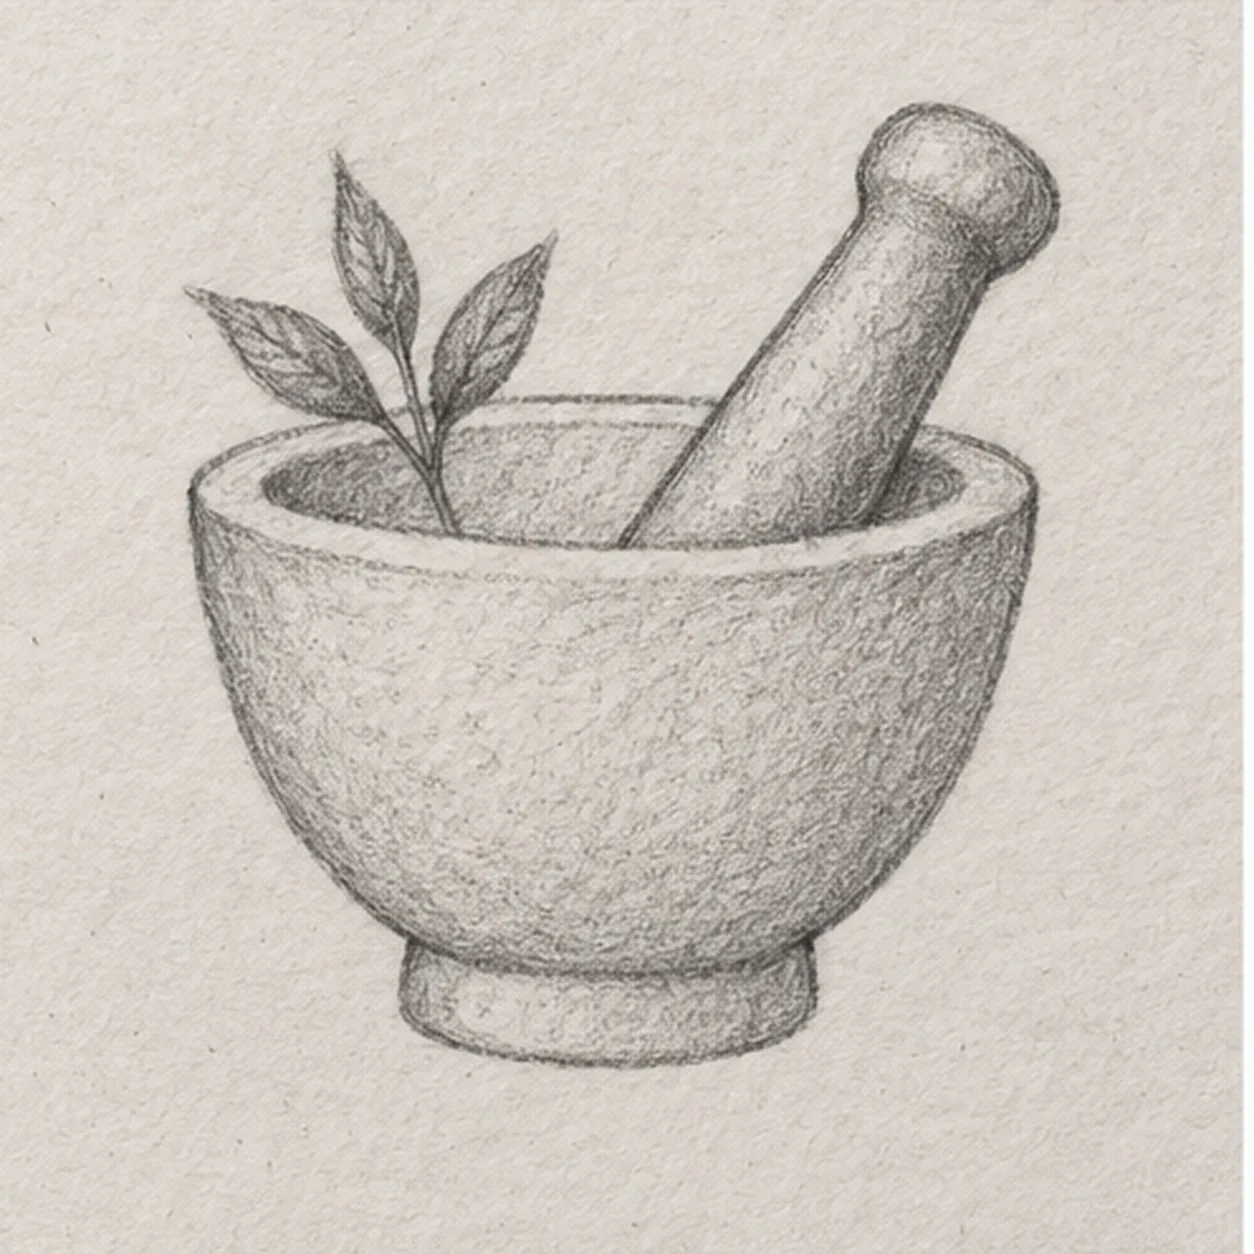
Tuck in the herbs
From the left side of the bowl opening, lift a short stem up-left. Attach three pointed leaves along it, keeping their bases joined to the stem and clear of the pestle.
Sketch tip: Count three leaves and check every leaf base meets the same stem.
-
05
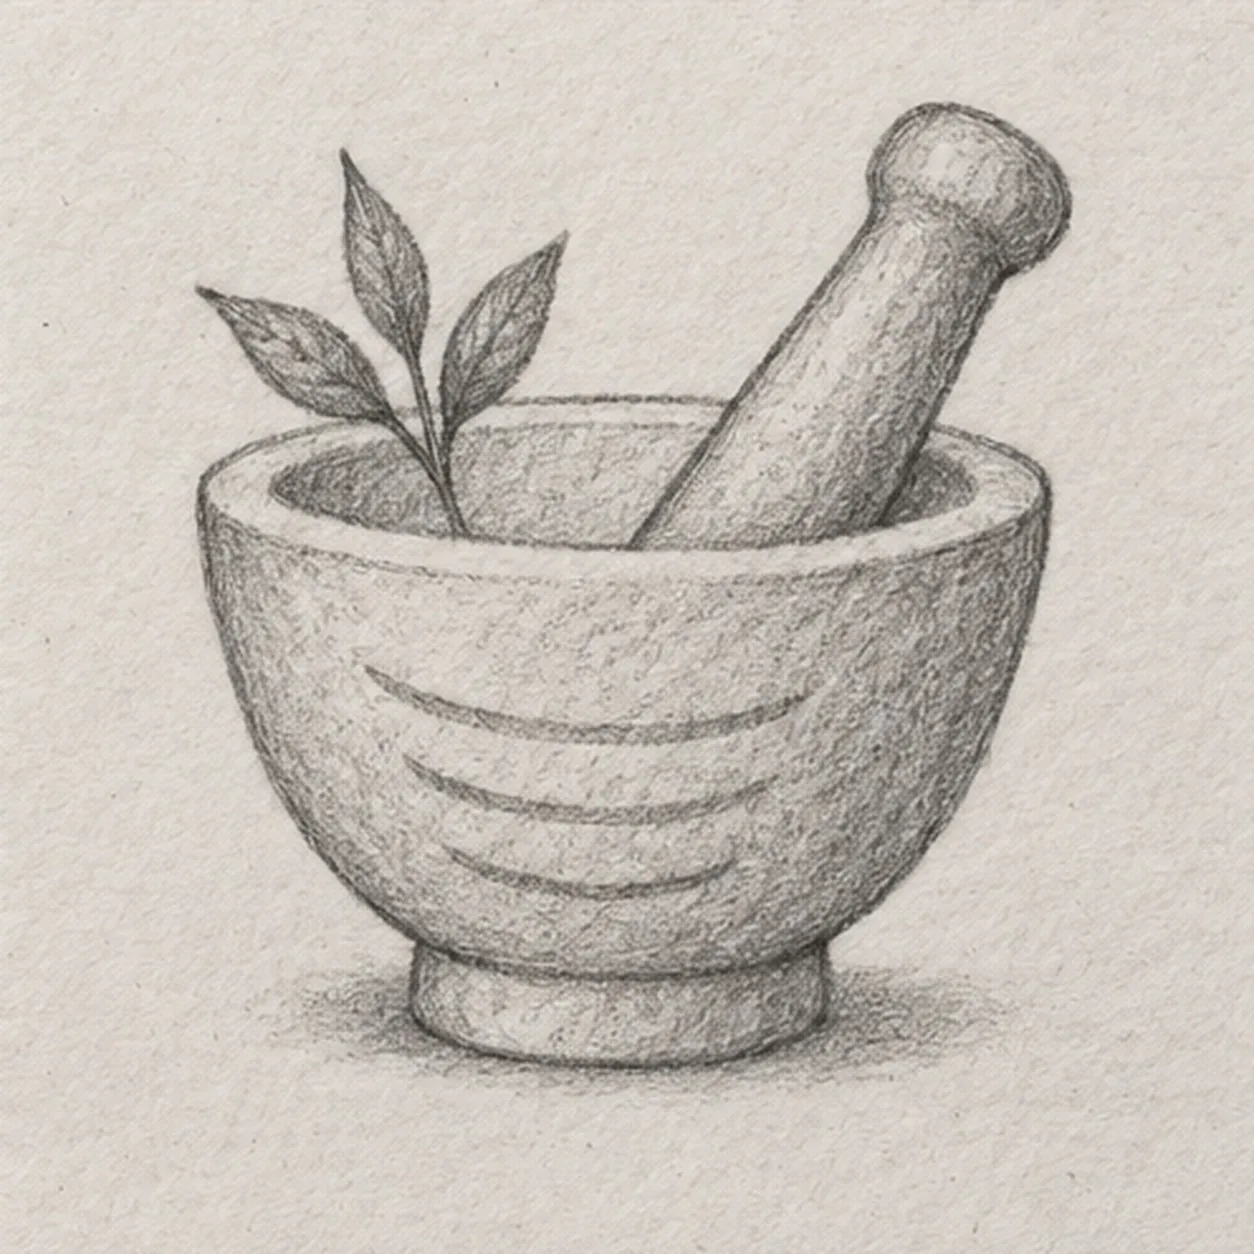
Mark stone and table
Curve three short grooves across the exposed bowl wall, then place a broken graphite shadow directly beneath the foot. Keep all earlier contours in place.
Sketch tip: Curve the three grooves with the bowl wall, then break the shadow around the foot.
-
06
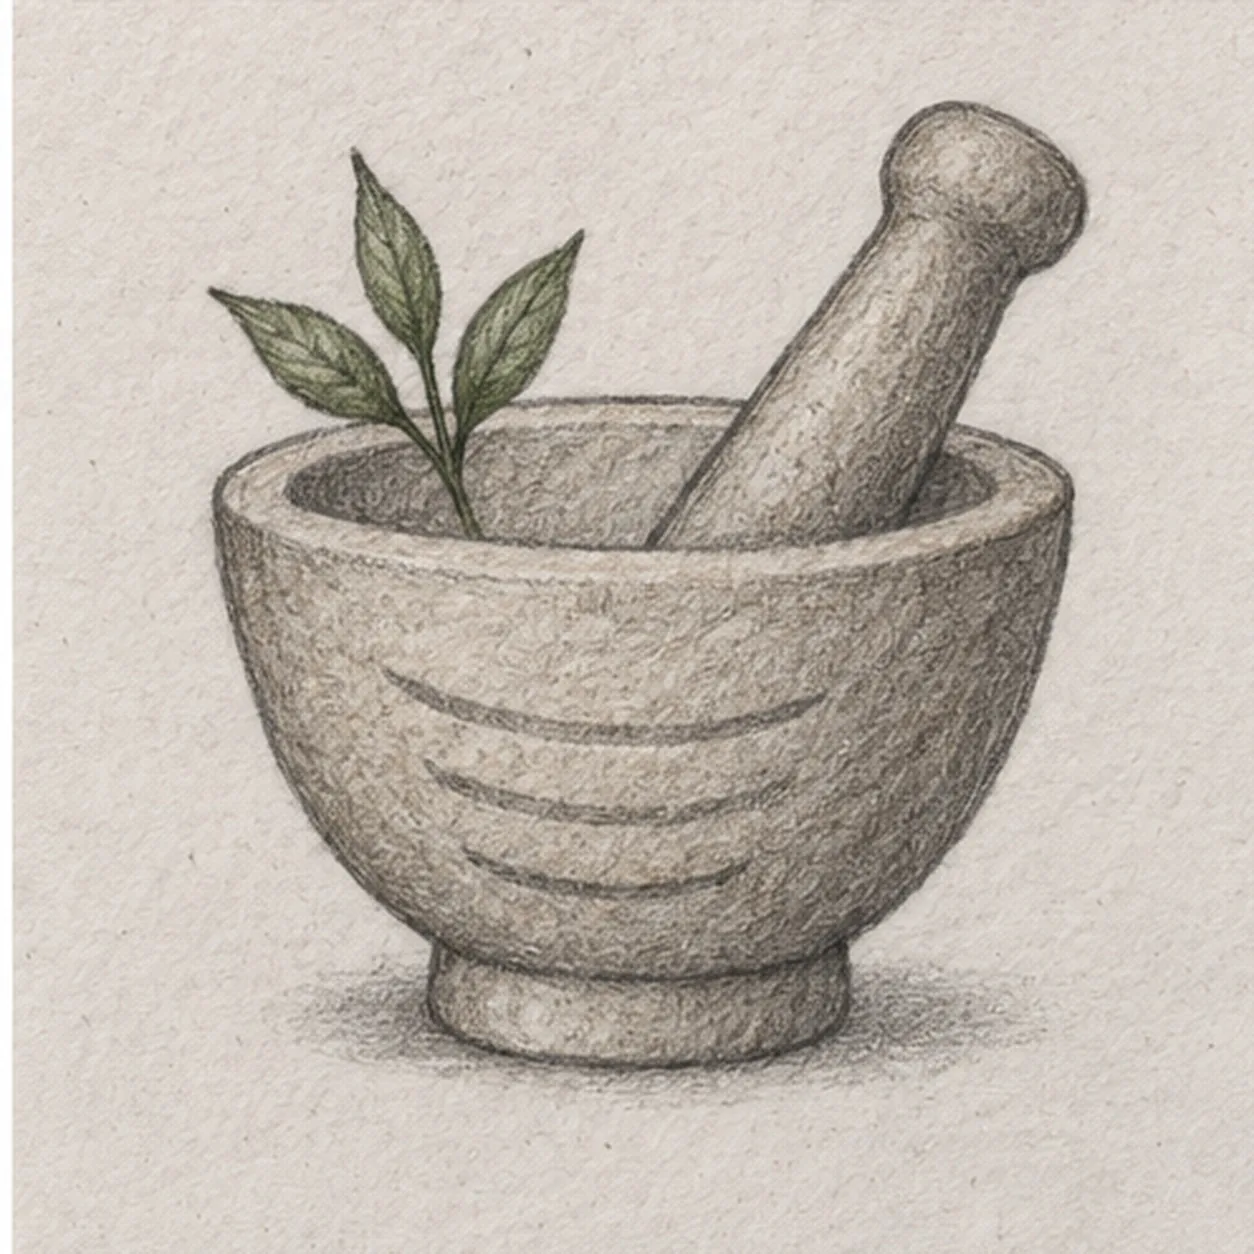
Shade stone and herbs
Shade the mortar and pestle with warm gray pencil, the three leaves muted green, and deepen the existing grooves and shadow. Keep the paper grain open and add no new contours.
Sketch tip: Use the side of each pencil lightly so graphite and paper tooth stay visible.